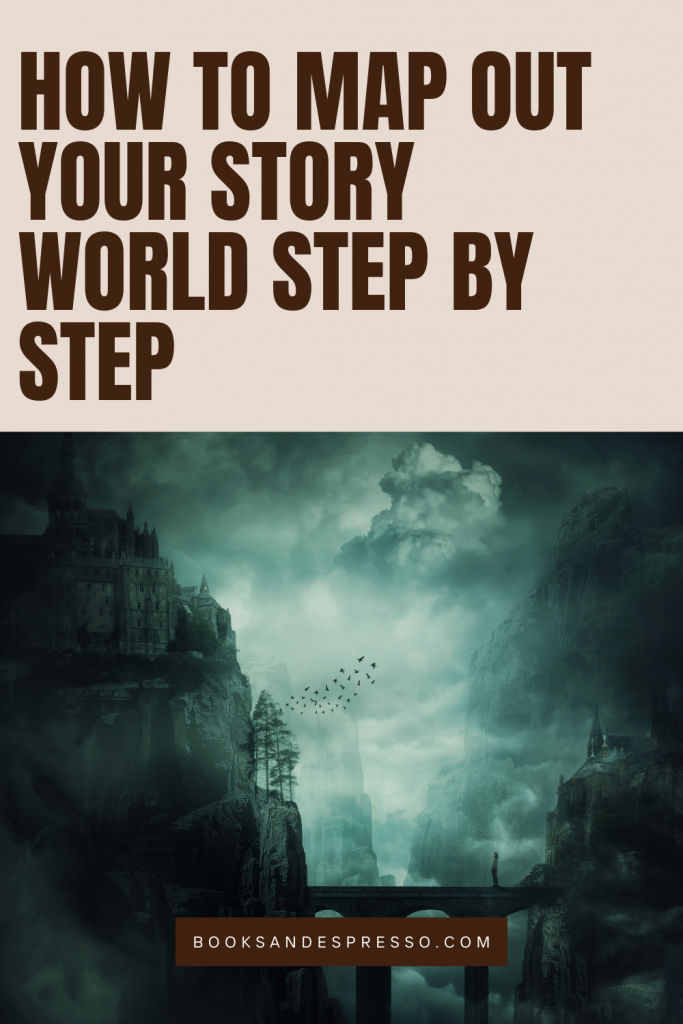
How to Map Out Your Story World Step by Step
Creating a fictional map is a fun and creative way to bring your story world to life. Maps not only help readers visualize the setting but also keep you, the writer, consistent with your storytelling. Whether your story takes place in a magical kingdom, a futuristic city, or a small village, following these steps will make the map-making process straightforward and enjoyable.
1. Define the Purpose of Your Map
Before you start drawing, think about why you need the map. Ask yourself questions like:
- What story elements do I need to show visually?
- Who will use this map—readers, myself, or both?
For instance, if your story involves a long journey, your map might highlight major landmarks and travel routes. On the other hand, a map for a city mystery might focus on streets, buildings, and key locations. By identifying the purpose early, you’ll avoid unnecessary details and focus on what really matters.
2. Start with the Shape of Your World
Now that you know the purpose, it’s time to sketch the land itself. Start with the big picture:
- Outline the landmass: Draw rough shapes for continents, islands, or regions. Don’t stress about perfection—natural shapes are irregular, so embrace the imperfections.
- Use real-world inspiration: Look at real maps of countries or continents to spark ideas. For example, a coastline inspired by Norway’s fjords could add a unique touch to your world.
- Decide the scale: Is this a map of a single city, an entire country, or a whole world? This decision will guide how much detail you include.
Once you’ve sketched the general outline, you’ll have the foundation for your map.
3. Add Natural Features
To make your world feel real, include natural elements such as mountains, rivers, forests, and oceans. Use these tips to guide you:
- Place mountains first: Mountains often act as natural dividers and influence where rivers flow. Draw ranges in clusters or lines, as they rarely appear randomly.
- Draw rivers logically: Rivers flow downhill, often starting in mountains and ending in lakes or oceans. Avoid the common mistake of rivers splitting in two—they almost always merge instead.
- Consider climates: Where would deserts, jungles, or tundras naturally form? For example, deserts are often on the leeward side of mountains due to rain shadows.
These features will give your map character and help define the regions within your world.
4. Add Borders, Cities, and Points of Interest
Next, focus on the human (or non-human) elements of your world. This is where your story’s setting truly starts to take shape:
- Draw borders: Think about natural boundaries like rivers or mountains when defining the edges of kingdoms or territories.
- Place cities wisely: Settlements often grow near resources like water, fertile land, or trade routes. A capital city might sit in the middle of a kingdom, while a port city would thrive on the coast.
- Highlight landmarks: Include unique locations such as ruins, temples, castles, or magical forests. These points of interest can tie directly into your plot.
By thinking about geography and story together, your map will feel both functional and engaging.
5. Add Roads and Pathways
Once you’ve placed cities and landmarks, connect them with roads or trails. Travel routes are essential for guiding characters and readers through the world. Consider the following:
- Major roads: These connect large cities and trade hubs. Think about the most logical and efficient paths.
- Secondary paths: Add smaller roads, secret trails, or wilderness routes that could lead to adventure or danger.
- Obstacles: Highlight areas that are difficult to cross, like dense forests or treacherous mountain passes.
These routes will help your characters navigate the world while adding layers of realism.
6. Label with Meaning
Now that your map has structure, it’s time to bring it to life with names. Names can reflect the culture and personality of your world. For example:
- Use consistent naming conventions: If one region has names inspired by Old Norse, another might draw from Celtic or Arabic influences. This creates a sense of distinct cultures.
- Label important locations: Clearly mark cities, mountains, rivers, and regions. Bold or italicize names to help differentiate between features.
- Add creativity: Play around with unique names for mythical places, like “The Shattered Coast” or “The Whispering Woods.”
This step transforms your map from a functional tool into a piece of art that tells a story.
7. Add Scale and Orientation
To make your map clear and easy to use, include a scale and compass:
- Scale bar: Show distances, especially if travel time is a plot point in your story. For example, how long does it take to journey from one city to another?
- Compass rose: Even a simple arrow pointing north will help readers understand the layout of your world.
These small details add polish and professionalism to your map.
8. Add Finishing Touches
Finally, enhance your map with artistic details:
- Textures and shading: Add hatching or shading to represent elevation, forests, or deserts. This makes the map more visually interesting.
- Borders and titles: Frame your map with a decorative border and a clear title, like “The Kingdom of Eldoria.”
- Legend: Create a key for symbols or markers, such as towns, castles, or ruins.
These finishing touches make your map feel complete and ready to share with readers.
Final Thoughts
Mapping out your story world is a rewarding process that blends creativity with practicality. A well-designed map not only immerses your readers but also helps you stay consistent as you write. Start with a rough sketch, build in layers, and don’t be afraid to let the geography influence your story.
Whether your world is a sprawling empire or a quaint village, your map will become a cornerstone of your storytelling. So grab your pencil (or open a digital tool) and start drawing your world today!
SHARE IT, SAVE IT, PIN IT